Barcode Labeling Application allows you to create attractive barcode labels in quick barcode mode and barcode designing mode for the packaging and supply distribution industries. Software is integrated with several kinds of linear and 2d barcode fonts including Interleaved 2 of 5, ITF-14, Codabar, UPCE, PDF417, Databar, QR Code, MaxiCode, and many more. Application provides the print preview facility that allows the user to fix all the barcode designing errors before printing.
Supply Distribution Barcode Software enables the user to store their well-designed packaging barcode labels in different Windows Applications including MS Excel, MS Paint, and MS Word. Application has an advanced lock and unlock feature that provides you full control over the text, images, or barcodes inserted in your packaging labels. Distribution Industry Barcoding Tool is an offline application that facilitates you to generate barcodes without any requirement of internet connectivity.
Follow the below steps to design barcodes using Barcode Software for the Packaging and Supply Industry
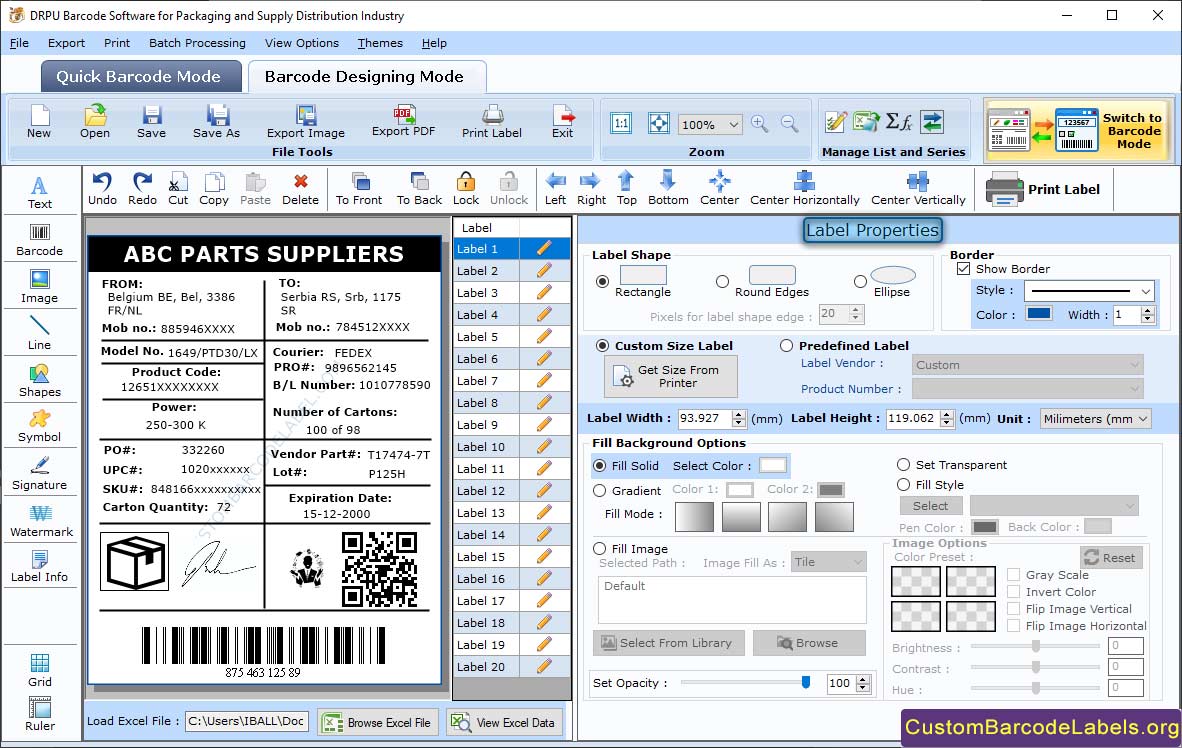
Step 1: Create the Packaging Barcode Label in Barcode Designing Mode and Change the Label Properties
- Go to the Barcode Designing Mode and create a packaging barcode label by using various drawing tools like signature, image, custom shapes, barcode, etc.
- On the right side of the window, you will notice different label properties, fill background, width/height, and image options.
- Choose any one label shape (ellipse, rectangle, or round edges), label dimensions, and border.
- In fill background options, fill the color (gradient, solid brush, or any different style) in the card background. Instead of color, you can also select the image for the card background.
- In image options , change various image filters like contrast, brightness, invert color, gray scale, and hue of your inserted background image.

Step 2: Create Batch Processing Series in Barcode Designing Mode
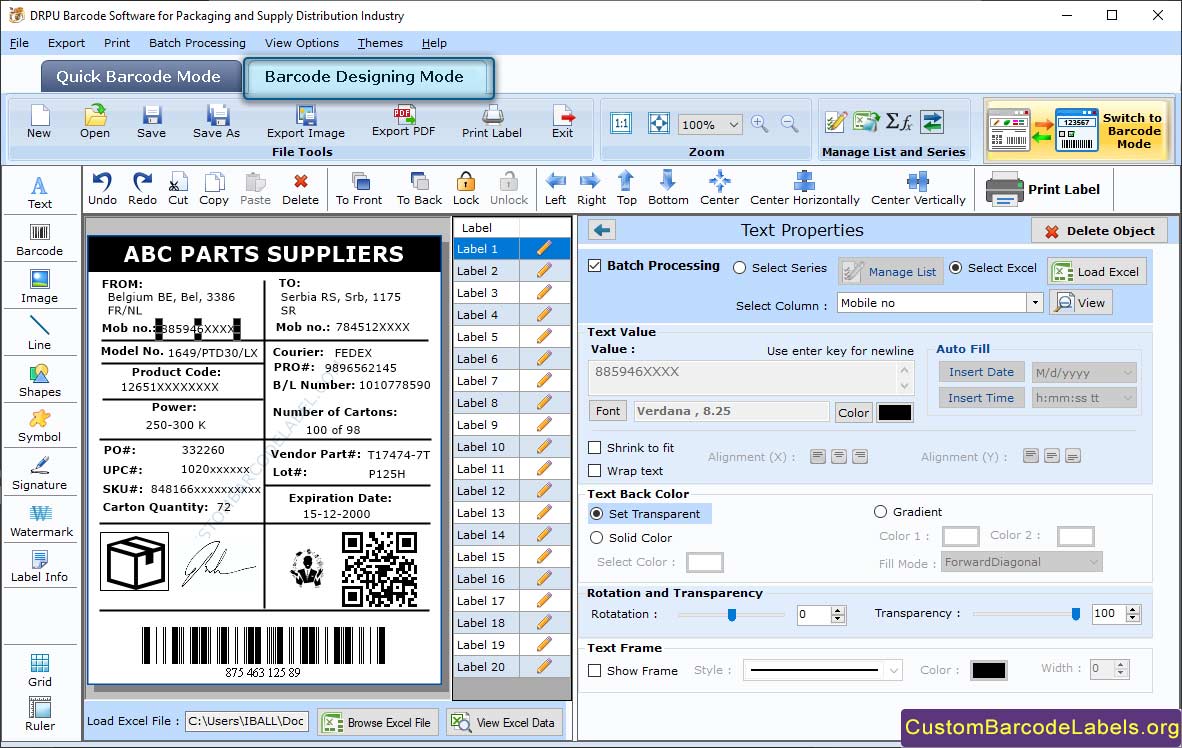
- If you want to create a bulk number of packaging labels with different barcode and text values then, click on Batch processing present in the text properties option.
- A generate series window appears on the screen where you will see three different series generating options, sequential, constant values, and random series.
- Select the sequential series option, insert the file name (Product Distribution), prefix (201), suffix, range (1900 to 2000), and increment value.
- After generating the series, click on batch processing series icon to manage your created series as shown in the below screenshot.
- You can also export your created series in a text file (*.txt) and an excel file (*.xlsx or *.xls) as per the requirement.

Step 3: Change the Barcode Properties of Packaging Barcode Label
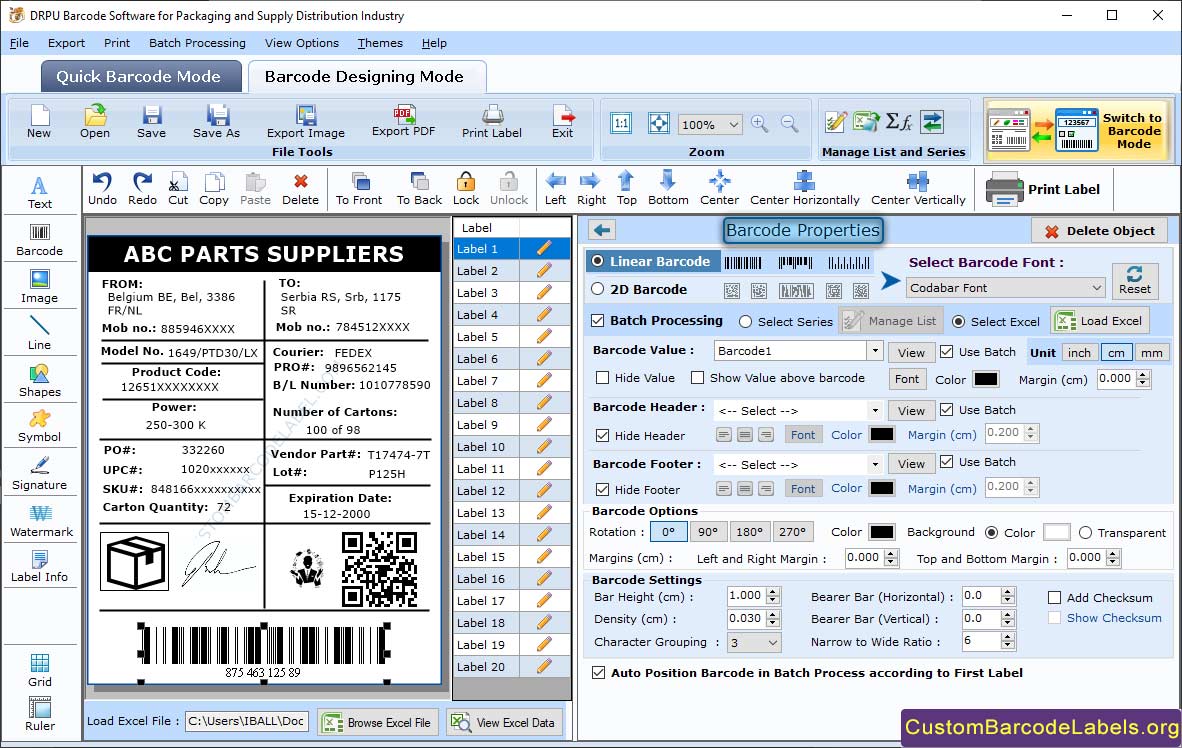
- To change the barcode properties, double-click on the barcode inserted in your packaging label, and a barcode properties window appears on the screen.
- Mark the 2d barcode technology checkbox and select the DataMatrix barcode font as shown in the below screenshot.
- In the value tab, go to batch processing series and select the series that you have created in step 2 for different barcode values, header, and footer.
- Change the preferred format (Auto, C10X10, C12X12, etc), encoding mode (Base 256, Text, C40, AUTO, or ASCII), orientation, align footer and align header.
- Just like value, you can also change the font (barcode header and footer), size (margins and x dimension), and color (barcode, header, footer, and background) of the DataMatrix barcode font for packaging.
